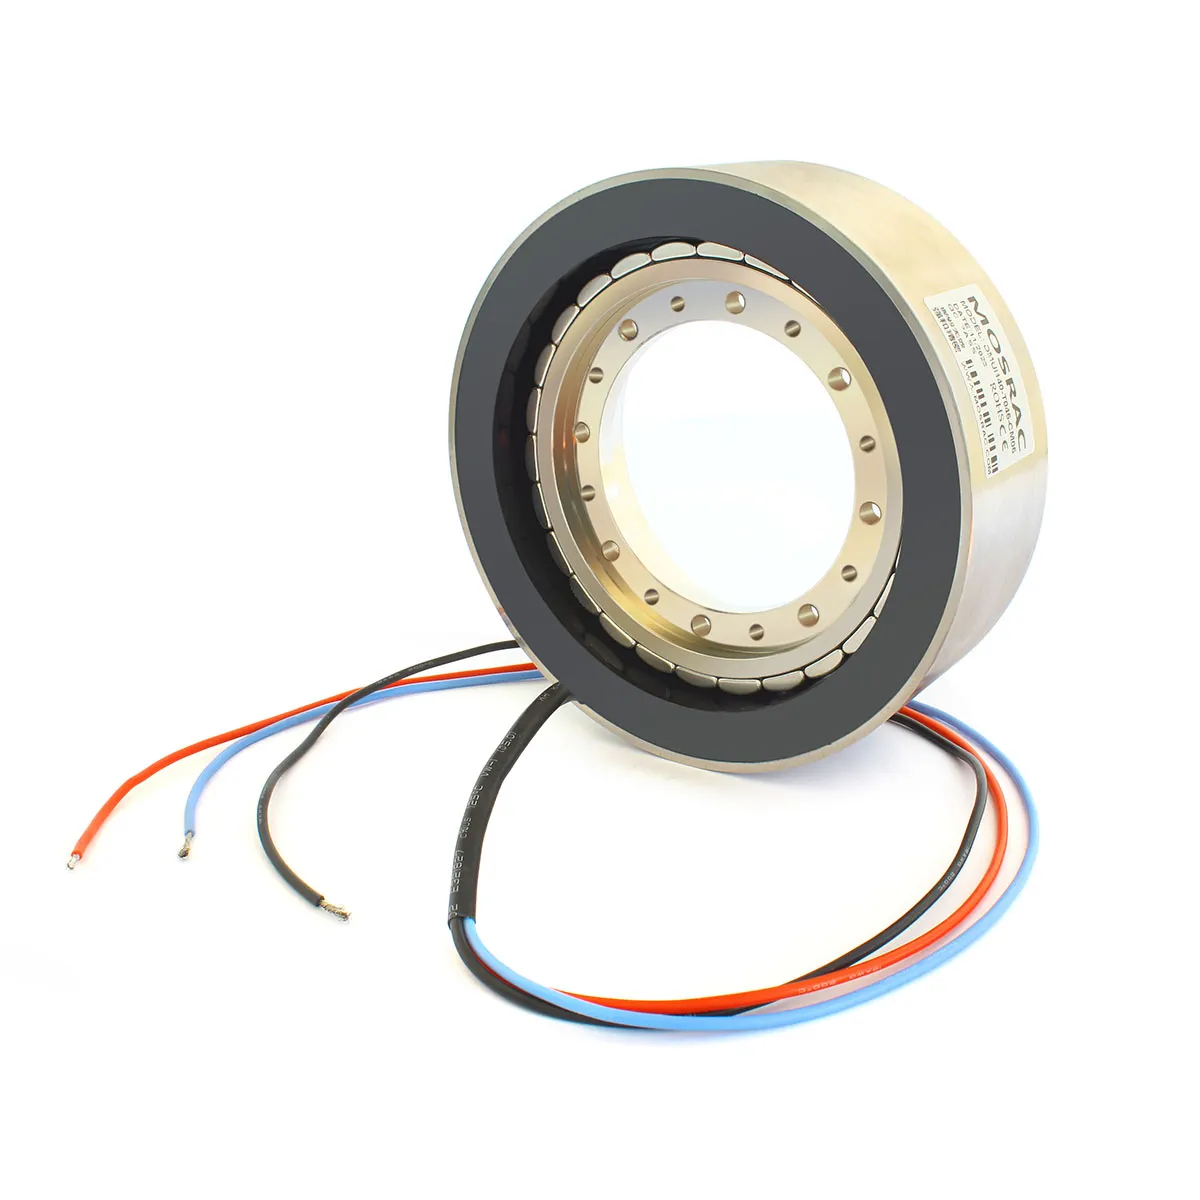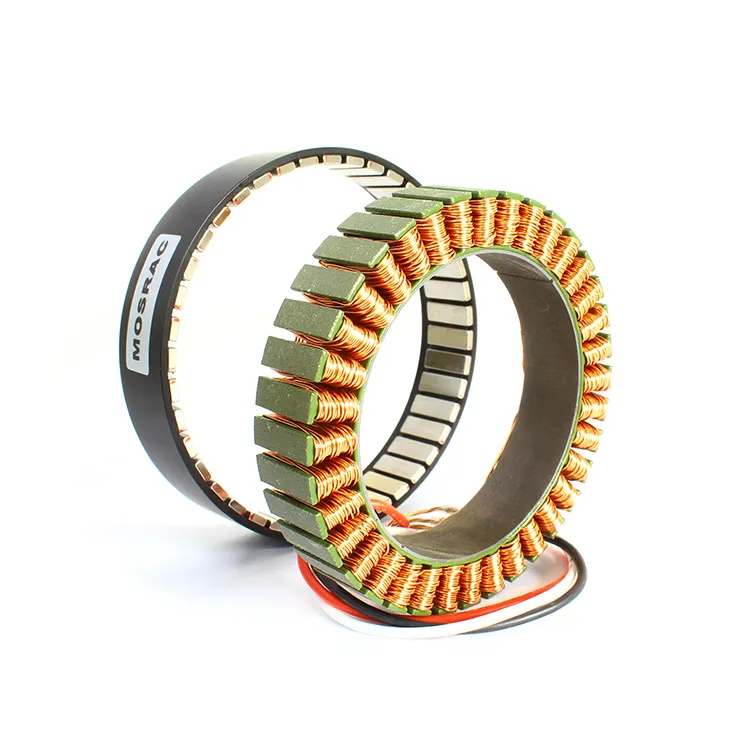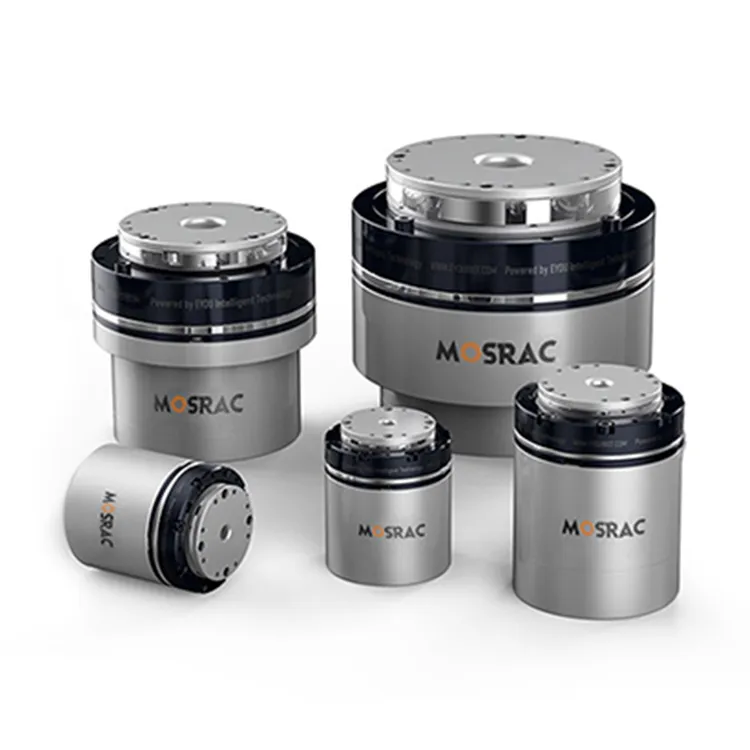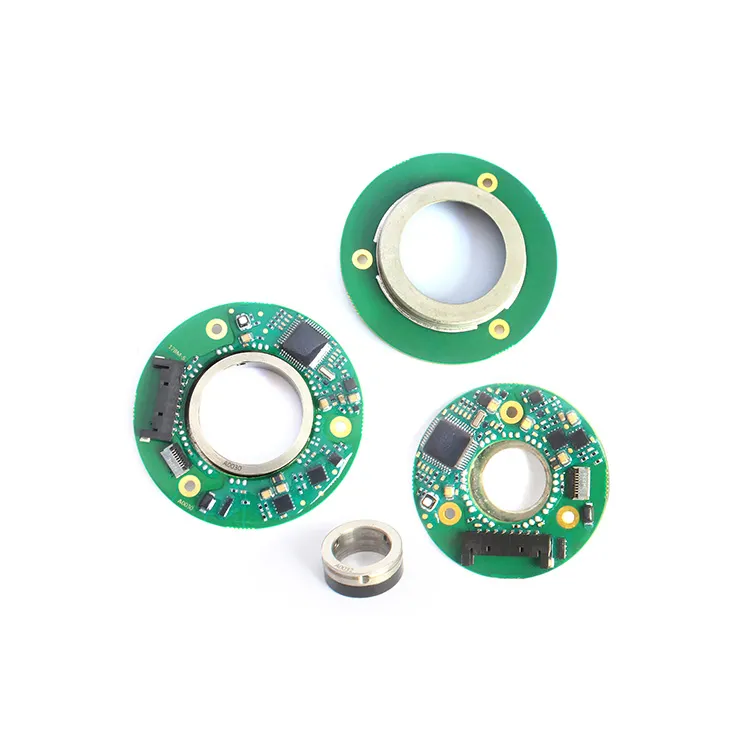
The Complete Beginner's Guide for Mounting and Installing Frameless Brushless Motors
Mounting a frameless brushless motor is not only challenging but also full of potential setbacks. Powerful magnetic forces can pull the parts unexpectedly, which causes scrapes or broken components. Plus, improper alignment is very common, which causes friction, leading to costly repairs.
Keep reading if you are struggling with frameless brushless motor mounting and installation. With the right instructions in this guide, you can get it done smoothly and safely.
Pre-Installation Considerations
Before we get into the frameless motor installation guide, let’s have a quick glimpse at some of the special considerations you should keep in mind:
1. Choose the Right Bearings
Ensure the bearing system is strong and stable to make an even gap between the rotor and the stator. Low-friction 2.bearings with high-quality grease are always the best choice for helping the motor work better and reduce friction.
2. Consider Best Mounting Materials
The stator should be firmly held with a metallic housing or clamp to keep it cool and stable. For instance, you can choose aluminum as it ensures robust performance. Stainless steel is also great, but you may need to consider it for heat dissipation.
3. Check for the Right Shaft
You can mount the magnetized rotor to any metal shaft, but it’s a good idea to use carbon steel or stainless steel for this as it stays strong in all harsh conditions. Also, there should be no magnetic chase in the shaft to help the motor work well.
4. Safe Electrical Grounding
Before you set up the stator, make arrangements for its proper grounding. The laminated stack of the stator should be in the same electrical position as the mounting chassis. This will help you prevent electrical noise and the chances of any hazards from your frameless motor wiring connections.
5. Proper Wire Routing
You will find flying lead wires with the stator. Before you start the installation, secure the wires. Make sure they are not routed to any sharp edges, which can cut into them.
How To Install Frameless Brushless Motor?
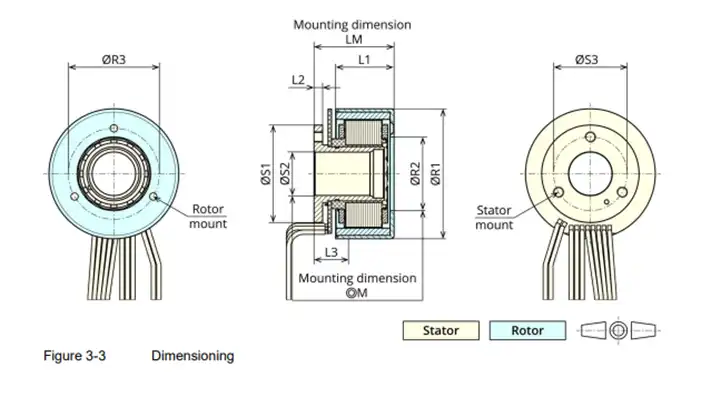
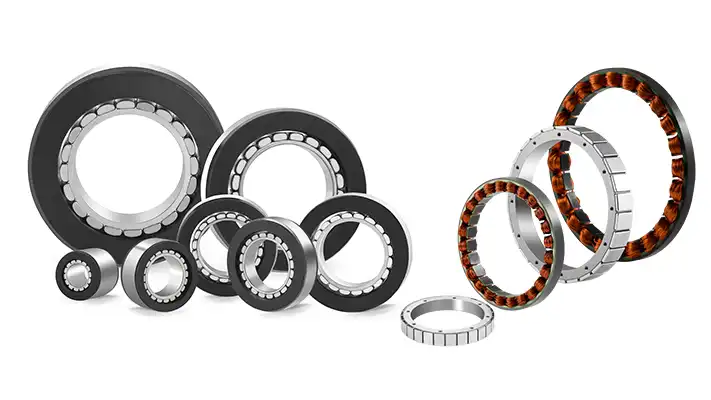
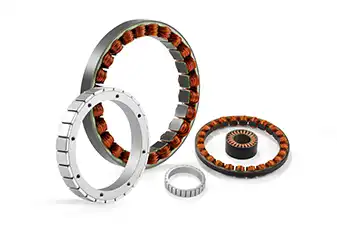
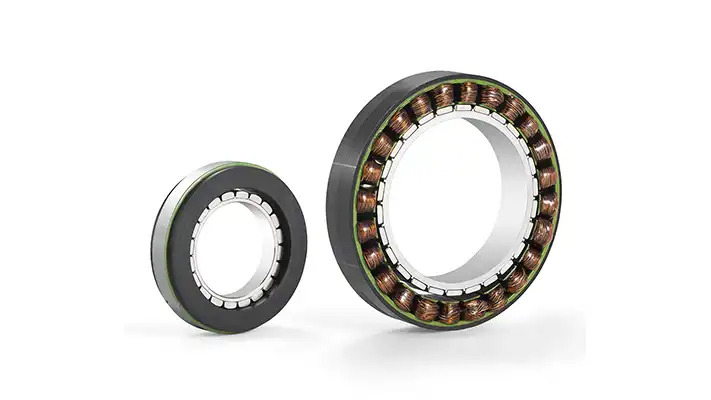
Photo credit: www.maxongroup.com
Let’s learn the 5 easy steps to install and mount the frameless brushless motor effectively:
Step 1: Secure the Stator
Before you install the rotor, it is important to ensure that your stator is secured in the housing. Any misalignment can affect the installation or damage components. There are various ways you can apply to lock the stator in the housing. Here is the list you can check out:
i) Heat Shrink Fit: In this installation method, you heat the housing so it expands effectively. When it is hot, you can easily insert the stator into the housing. Once the housing cools down, it shrinks back to its original size and ensures a tight gap.
ii) Press Fit: Instead of heating, you can even press the stator to securely place it in the housing. A strong pressing force is applied in this instance, which pushes the stator into the housing and locks it in place.
iii) Bolting: If you are dealing with large motors that are KBM(S)-163XXX to KBM(S)-260XXX, bolting in the method is the recommended method for you. These motors often come with a metal sleeve with holes for bolts. This makes it easier to bolt in or screw the stators in place.
iv) Adhesive Bond: This is one of the popular methods to lock the stator in the housing. Typically, an adhesive like Loctite 640 or other similar adhesives is used to bond the stator to that specific housing. You can apply it for applications where peak torque does not exceed 750 N-m.
Step 2: Insert the Rotor into the Stator
When the stator is set in, this is the time to insert the rotor into the stator's housing. These are the basic approaches you apply to secure the rotor in the stator:
A: Axial Clamping:
If your shaft has a shoulder, you can use the lock nuts to hold the rotor in place. The number of lock nuts depends on the rotor size, torque requirements, and customer application.
For instance, you may need to thread the shaft and place the rotor. This is the most flexible method that ensures easy removal of the rotor from the stator whenever you need it. Typically, it is used for applications with up to 400 N-m peak torque.
B: Bolting:
If you are dealing with large motors like the KBM(S)-43XXX series and above, mounting the rotor with bolts would be the best option to go with. These types of large motors have specific hole patterns on the rotor hub, which ensure quick and easy insertion of the rotor into the housing.
But you need to check and ensure the shaft’s diameter, length, and hole pattern match the motor model for a secured fit.
C: Adhesive bonding:
In most cases, a high-strength adhesive is used to attach the rotor to the stator structure. Some of the best examples of adhesives used in such applications are 3M DP420, Hysol/Loctite E40HT, and Loctite 648.
You can create an adhesive groove to insert the adhesive. It should be about 0.2 to 0.3 millimeters deep but long enough, about 50% to 75% of the length of the rotor. The adhesive will help to hold the rotor in place and ensure precise performance.
D: Other Methods:
As in stator retention, press fit methods are also used in rotor retention. To do so, the inner diameter of the rotor should be the same as the stator's outer diameter. Also, you can use the shrink-fit process to secure the rotor in the stator.
Note: Avoid heating the rotor, as there is a risk of permanent demagnetization of the rotor magnets.
Step 3: Apply Protective Film
Before you insert the rotor into the stator, a strong magnetic force is a common factor to face, which creates friction during the installation process. To prevent such damage, manufacturers always recommend applying a thin layer of Mylar film around the inner surface of the stator.
It works as a protective barrier for your rotor and allows it to slide into the stator without any obstructions. For instance, you can wrap a single piece of film around the stator or use multiple pieces and place them evenly around the housing. In both cases, you need to ensure that the protective film extends above the stator for easy removal when you're done.
Step 4: Mount The Rotor
Now you are ready to mount the rotor inside the stator. Many KBM(S) series rotors are quite heavy and cannot be lifted safely by hand. For instance, you may need a hoist or a small overhead crane to lift it gently.
Most large KBM(S) rotors come with special holes in their steel hubs. This offers a great advantage, as you can attach eye bolts to these holes and lift the rotor easily.
Step 5: Check the Running Clearance
When you are done installing the rotor into the stator, check the running gap between them. It should be free of debris or obstructions. If possible, gently spin the rotor by hand and ensure it moves freely without sticking. The clearance range between the rotor and the stator should be between 0.005 and 0.05 mm.
Essential Post-Installation Checks For Frameless Brushless Motor
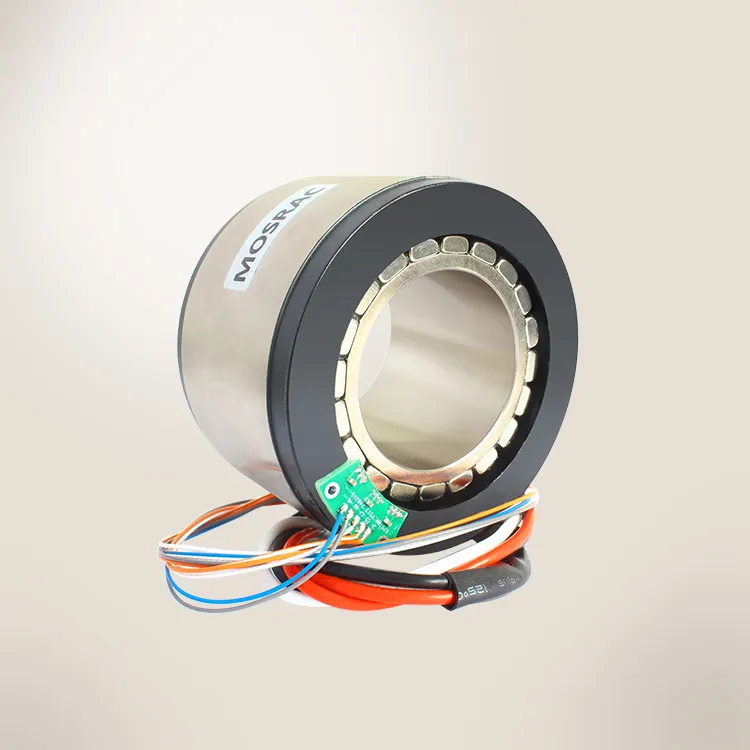
Photo credit: www.mosrac.com
When you are done mounting your frameless motor, these are the essential checks to ensure everything runs smoothly and safely.
1. Temperature monitoring
It is important to maintain a constant temperature while the motor is running. At the start of your installation, check and ensure that your frameless motor stays cool. If it starts getting too hot, there is likely a problem with the cooling. Several reasons could be responsible here.
Let's learn some major issues with the correct solution ideas.
| Problem | Solution |
| Wrong winding connection | Check and correct wiring as per motor specifications. |
| Excessive load | Keep the load current and voltage on the rated value |
| Partial short circuit in the winding | Locate a short circuit, repair or replace the coil. |
| Excessive dust and oil buildup | Clean the motor of dust and oil for better heat dissipation. |
2. Testing
Before you turn on the motor, it’s a good idea to do some tests. These quick checks will help you make sure the motor and the stator are aligned correctly. Follow proper motor alignment procedures for smooth operation.
3. Vibration Check
Check for any strange vibrations when the motor starts up. If you feel the motor is shaking or wobbling, chances are some parts are not lined up correctly or electrical connections for brushless motors are loose or faulty. Repair it and fix the misalignment according to the instructions as soon as possible.
Tips For Handling Frameless Brushless Motor
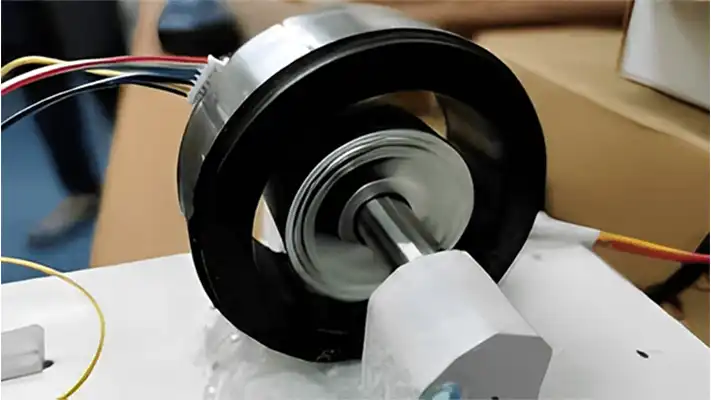
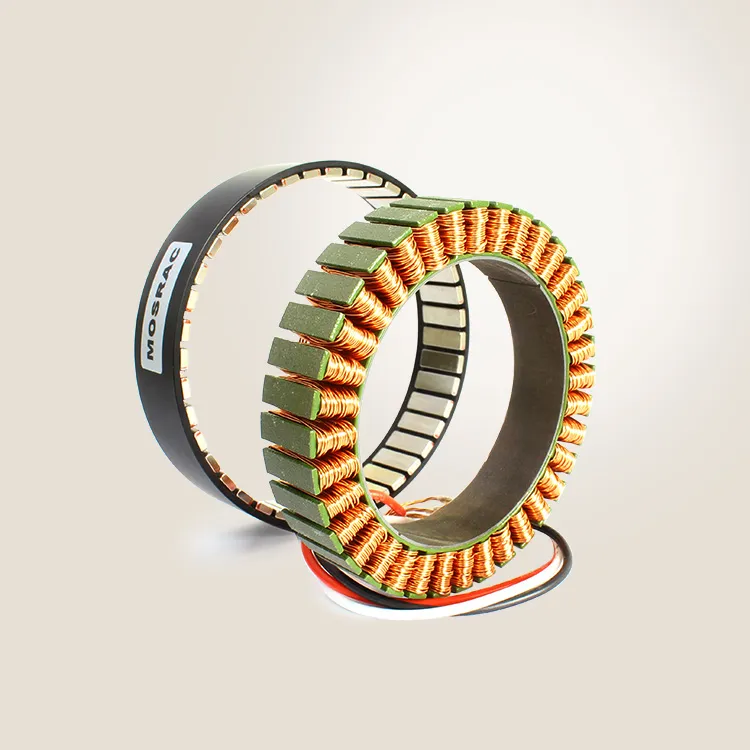
Photo credit: Ark Motion (YT)
These are the essential tips to keep in mind when handling frameless brushless motors:
1. Unpack With Care
When you are unpacking the rotor and stator, make sure you are doing it very carefully. This helps prevent damaging the motor surface. Pay careful attention while handling the wires inside the motor. Avoid putting too much pressure on the lead wires.
2. Ensure Safer Transporting
If you need to transport your motor from one place to another, it is best to put it in the original box you got from the factory. The box is mainly designed to hold the elements safely. It also protects the motor from bumps and shakes during transport.
3. Storage Options
To store the frameless motor components, always try to use shelves or containers that are made from non-magnetic materials. Also, check to ensure that you haven’t placed the motor parts too close to each other and keep them at least half an inch apart. This helps to avoid scratching or damaging them.
Also, keep the motor away from small metal parts like iron filings or dust. Chances are these tiny bits can get stuck in the motor and affect its overall performance. In addition to that, it is best to use a plastic bag that should have desiccant powder inside. This special powder helps keep moisture away and prevents rust.
In Closing Final thoughts
Proper frameless brushless motor mounting and installation is important for getting a smooth performance. So, be sure to choose the right materials, and proper alignment, and follow safety tips.
Always go through a quick test before you start the motor and clean up any debris during the installation period. Also, you can follow the manufacturer's guidelines to get a successful setup.
FAQs
1. How can I ensure proper alignment during installation?
During installation, carefully check that the rotor and stator are lined up correctly. Also, make sure to use the protective Mylar film that will work as a level tool and make necessary adjustments to avoid any issues.
2. Can I install a frameless brushless motor myself, or should I hire a professional?
You can install a frameless brushless motor yourself if you can follow the instructions properly. However, if you are uncomfortable with the process, it’s best to hire a professional to ensure everything is done correctly.
3. What should I do if the frameless brushless motor does not function after installation?
If the frameless brushless motor does not work, first check the wiring. It should be connected properly. Then, check for any loose parts or misalignments. If problems persist, consult the manufacturer's guide for help.
4. What types of adhesives are recommended for mounting frameless motors?
To mount the frameless motors, you need to choose a high-strength adhesive that ensures bonding and can withstand any temperature. Most experts recommend 3M DP420, Hysol/Loctite E40HT, or Loctite 648.
5. Can I install multiple frameless brushless motors in parallel?
Yes, you can install identical brushless motors in parallel. But make sure to match the rotor angles perfectly and keep the shafts tightly connected.
Looking for a custom solution?
Tell us about your requirements and our application engineers will help you find the right solution today!

Any questions or comments about Frameless Motors, Direct Drive Rotary Motors, and Encoders? Contact us at sales12@mosrac.com for sales, technical inquiries, or order samples online today!

